Jan 5th, 2016
To properly cut the notch down the center of the neck for the truss rod I built a jig to hold the neck at the correct angle. I used a 1/2" piece of plywood for the base and cut the neck support and safety blocks on the band-saw. Once attached I cut out center out to allow the fret-board to lay flat while raising the peg-head which will allow to cut a slopped slot for the truss rod.
Friday, February 5, 2016
Siminoff Joint Fixture
Jan 5th, 2016
I decided to use the Siminoff Joint for this mandolin build
which requires a jig to cut the V joint at the proper angle into the head block.. His book does not explain very well on how to
build one so I decided to buy the Pro plans from him. Again, a bit frustrating that these were not
included in the book. Just charge more
for the book. I am sure I would
eventually figure the jig out but I don’t have much time and would like to
build a mandolin, not figure out a jig from a black and white picture from only
one angle.
The Pro plans for this jig were a bit confusing for someone
who has not built a mandolin before. I
emailed Roger Siminoff and he sent some actual pictures of the
underside of the jig. There must be more
than one way to build the jig since his pictures contradicted what the Pro plan
said to do. After building it, I think
maybe it does not matter where you put the hinge, but if you have never built
one it is quite frustrating since you only get once chance to do it right come time to cut the slot. It does say to practice on scrap which is
what I will do for sure. One more issue
I noticed, some of the dimensions are written down and some you have to measure
off the plans. It would be nice to have
more detailed written down measurements.
Part of my confusion on this particular jig is whether to
put the hinge on the side of the angled block or on the top. I have two separate pics with two different
ways. It would be nice to get some
clarification for first timers who are nervous they may blow this and ruin the
mandolin. I can tell the book is written
from a seasoned builder who forgot what it is like to start from a stand point
of a total beginner. With that said, I
guess that’s why maybe most people don’t start out with an F style on their
first build. Then again, the book does
say how to build a mandolin.
As usual I glued the paper template from the plans and cut
them out on the band saw. This was
probably the hardest jig to build out of all five that I have done. Maybe next time I will try the dovetail
joint. It would be fun to compare the
difficulty level. For now I will make
sure and test this on plenty of scrap wood.
Thursday, February 4, 2016
Graduation templates
Feb 4th, 2016
Paper templates seem a bit to floppy to use in a practical way. I am afraid they would get ruined by the time I finished carving the back and soundboard. I cut the out graduations from the manual and used rubber cement to glue each one to a thin 1/8” piece of scrap I had laying around. I used a band-saw to cut each one out and then used a spindle sander attached to my drill press to sand to the line. I labeled each one according to the manual. I now have 20 graduation templates that should last quite awhile.
| Paper templates |
| Sanding to size |
| 20 Graduation Templates |
Pedhead Fixture
Jan 26th, 2016
The next jig on my list was to build the peg-head fixture. This will insure the correct angle when cutting the peg-head. This fixture holds the fret-board plane parallel to the table and allows all the cuts in the peg-head to be made at the right angle. Again I made photo copies from the manual and glued them to a block of wood. I cut all three pieces on the band-saw and sanded them to shape on the drill press with a spindle sander attached, . The holes are used to clamp the neck to the jig.
Finishing the Body Assembly Fixture
I finished the inside spreaders for the rim assembly
form. I used the same ¾”plywood that was
left over from the first part. I used
rubber cement to glue the paper template onto the plywood. I then ban-sawed and sanded to the
lines. I drilled 1 ½“holes with a
butterfly bit to mount the spreaders to each side.
Saturday, January 23, 2016
Body Assembly Fixture
Jan 23, 2016
The DVD from Stew-mac is mostly aimed at the kit you buy from them. It is very expensive and misleading. The title says, How To Build A Carved-Top Mandolin. It should really say, How To Assemble Our Mandolin Kit. There are some nuggets in there but if you really want to build a mandolin from scratch DVD is not very helpful. There are no complete resources out there to actually build a mandolin from scratch.
In Siminffs construction manual there are basically no instructions to build any of key fixtures or forms needed to actually build a mandolin. It is a bit frustrating when you have to go on You Tube to supplement the book.
I ended up buying Siminoff's Pro Fixtures and templates drawings for about the price of his book. In my opinion, why don't you just include these plans in the book and charge what you need. We will buy it. Just charge $75 if that's what it takes. Just sell a complete book. In the book they just say you will need to build a certain fixture. They give you a few pictures and a few dimensions, but that is it. I can figure most of them out, but what a pain in the ass when the book says Construction Manual. That being said, I can appreciate the time and effort put into the book and plans and will pay extra to support a fellow artist. Siminoff is a fantastic resource and I will probably buy most of my components from him. I just think charge what you need and give us a complete book with plans....and please make a complete DVD for us. :)
Once both halves were rough cut out on the band-saw I used my drill press as a sanding station to ease up to the line.
The points have to be hand filed where the sanding drums can't reach.
The DVD from Stew-mac is mostly aimed at the kit you buy from them. It is very expensive and misleading. The title says, How To Build A Carved-Top Mandolin. It should really say, How To Assemble Our Mandolin Kit. There are some nuggets in there but if you really want to build a mandolin from scratch DVD is not very helpful. There are no complete resources out there to actually build a mandolin from scratch.
In Siminffs construction manual there are basically no instructions to build any of key fixtures or forms needed to actually build a mandolin. It is a bit frustrating when you have to go on You Tube to supplement the book.
I ended up buying Siminoff's Pro Fixtures and templates drawings for about the price of his book. In my opinion, why don't you just include these plans in the book and charge what you need. We will buy it. Just charge $75 if that's what it takes. Just sell a complete book. In the book they just say you will need to build a certain fixture. They give you a few pictures and a few dimensions, but that is it. I can figure most of them out, but what a pain in the ass when the book says Construction Manual. That being said, I can appreciate the time and effort put into the book and plans and will pay extra to support a fellow artist. Siminoff is a fantastic resource and I will probably buy most of my components from him. I just think charge what you need and give us a complete book with plans....and please make a complete DVD for us. :)
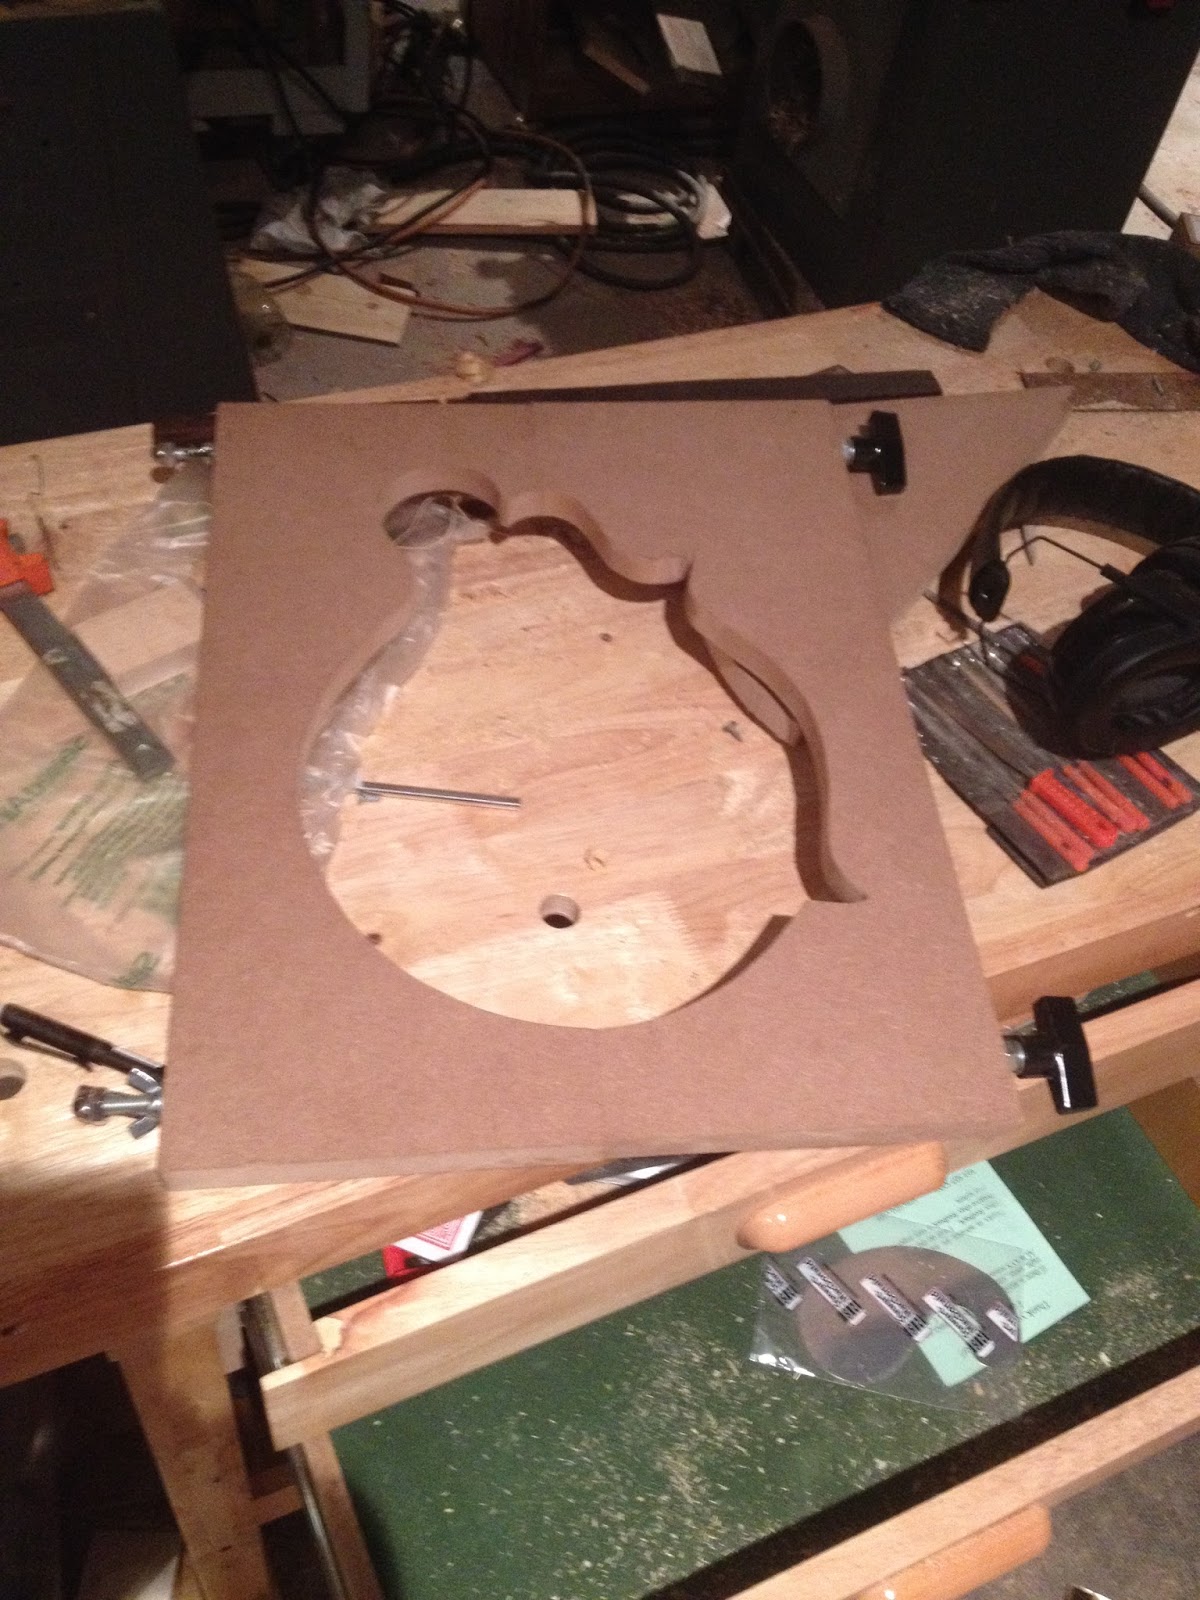
I decided to start with building the Body Assembly Fixture first. I went to Hope Depot and purchased a 3\4” piece of press-board to build my form out of. They
sell it in smaller sheets so you don't have to buy a full 4X8 sheet. Plywood can
be warped so I chose the press-board since the form needs to be level. I do have quite a bit of hardwood at home but
all of it is figured and I did not want to waste it on a form
I cut a 14’
X 18” piece and ripped it in half. I then jointed the edges where they will joint in the middle. I them traced the outline of the mandolin.
I used the band-saw to cut the shape out on each half.
Once both halves were rough cut out on the band-saw I used my drill press as a sanding station to ease up to the line.
The points have to be hand filed where the sanding drums can't reach.
I
drilled four 5/16th holes by
clamping the pieces to my work bench and using a drill guide. The challenge is keeping the holes strait on
both pieces so the metal rods will go through both at a 90 degrees. I bought two 5/16 threaded rods and knobs to hold my form
together. This will make it easier to
remove the rim after gluing
I am only half way done. I need to build the inside spreader cauls next.
.
Thursday, January 14, 2016
Cutting the back and gluing the sound board
Jan 9th, 2016
I spent some time in the shop this weekend and decided to
cut my piece of maple to shape. The
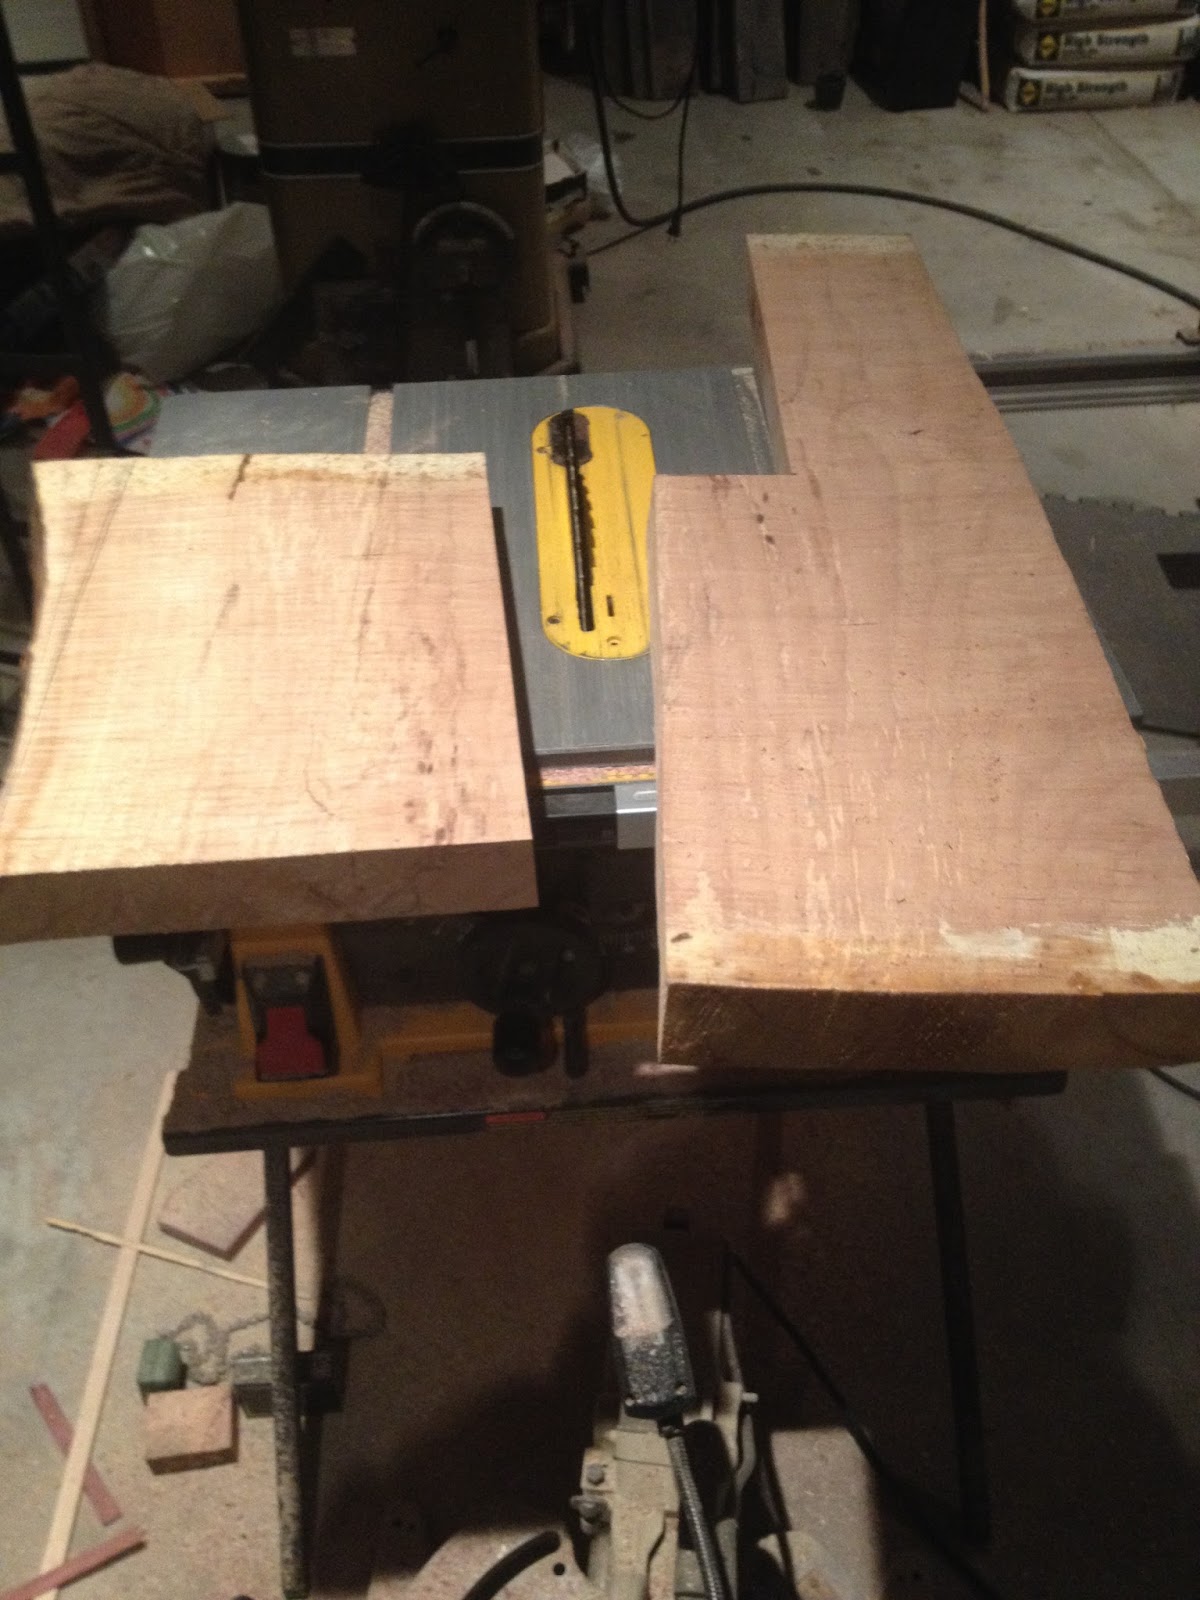
plank I have was about 2 1/4th. I
re-sawed it and now have two beautiful pieces to choose from. I will eventually make a template out of Plexiglas,but for now
I just traced the shape of the mandolin from a photo copy I made
| Re-sawing |
| Planing |
I also glued up the spruce top and will let it dry 24 hrs before I cut that one to shape.
| Jointing the sides |
| Ready for gluing |
Next up is to make a form for gluing the rim. I trip to Home Depot is in the plans for this weekend
Subscribe to:
Posts (Atom)