The DVD from Stew-mac is mostly aimed at the kit you buy from them. It is very expensive and misleading. The title says, How To Build A Carved-Top Mandolin. It should really say, How To Assemble Our Mandolin Kit. There are some nuggets in there but if you really want to build a mandolin from scratch DVD is not very helpful. There are no complete resources out there to actually build a mandolin from scratch.
In Siminffs construction manual there are basically no instructions to build any of key fixtures or forms needed to actually build a mandolin. It is a bit frustrating when you have to go on You Tube to supplement the book.
I ended up buying Siminoff's Pro Fixtures and templates drawings for about the price of his book. In my opinion, why don't you just include these plans in the book and charge what you need. We will buy it. Just charge $75 if that's what it takes. Just sell a complete book. In the book they just say you will need to build a certain fixture. They give you a few pictures and a few dimensions, but that is it. I can figure most of them out, but what a pain in the ass when the book says Construction Manual. That being said, I can appreciate the time and effort put into the book and plans and will pay extra to support a fellow artist. Siminoff is a fantastic resource and I will probably buy most of my components from him. I just think charge what you need and give us a complete book with plans....and please make a complete DVD for us. :)
I decided to start with building the Body Assembly Fixture first. I went to Hope Depot and purchased a 3\4” piece of press-board to build my form out of. They
sell it in smaller sheets so you don't have to buy a full 4X8 sheet. Plywood can
be warped so I chose the press-board since the form needs to be level. I do have quite a bit of hardwood at home but
all of it is figured and I did not want to waste it on a form
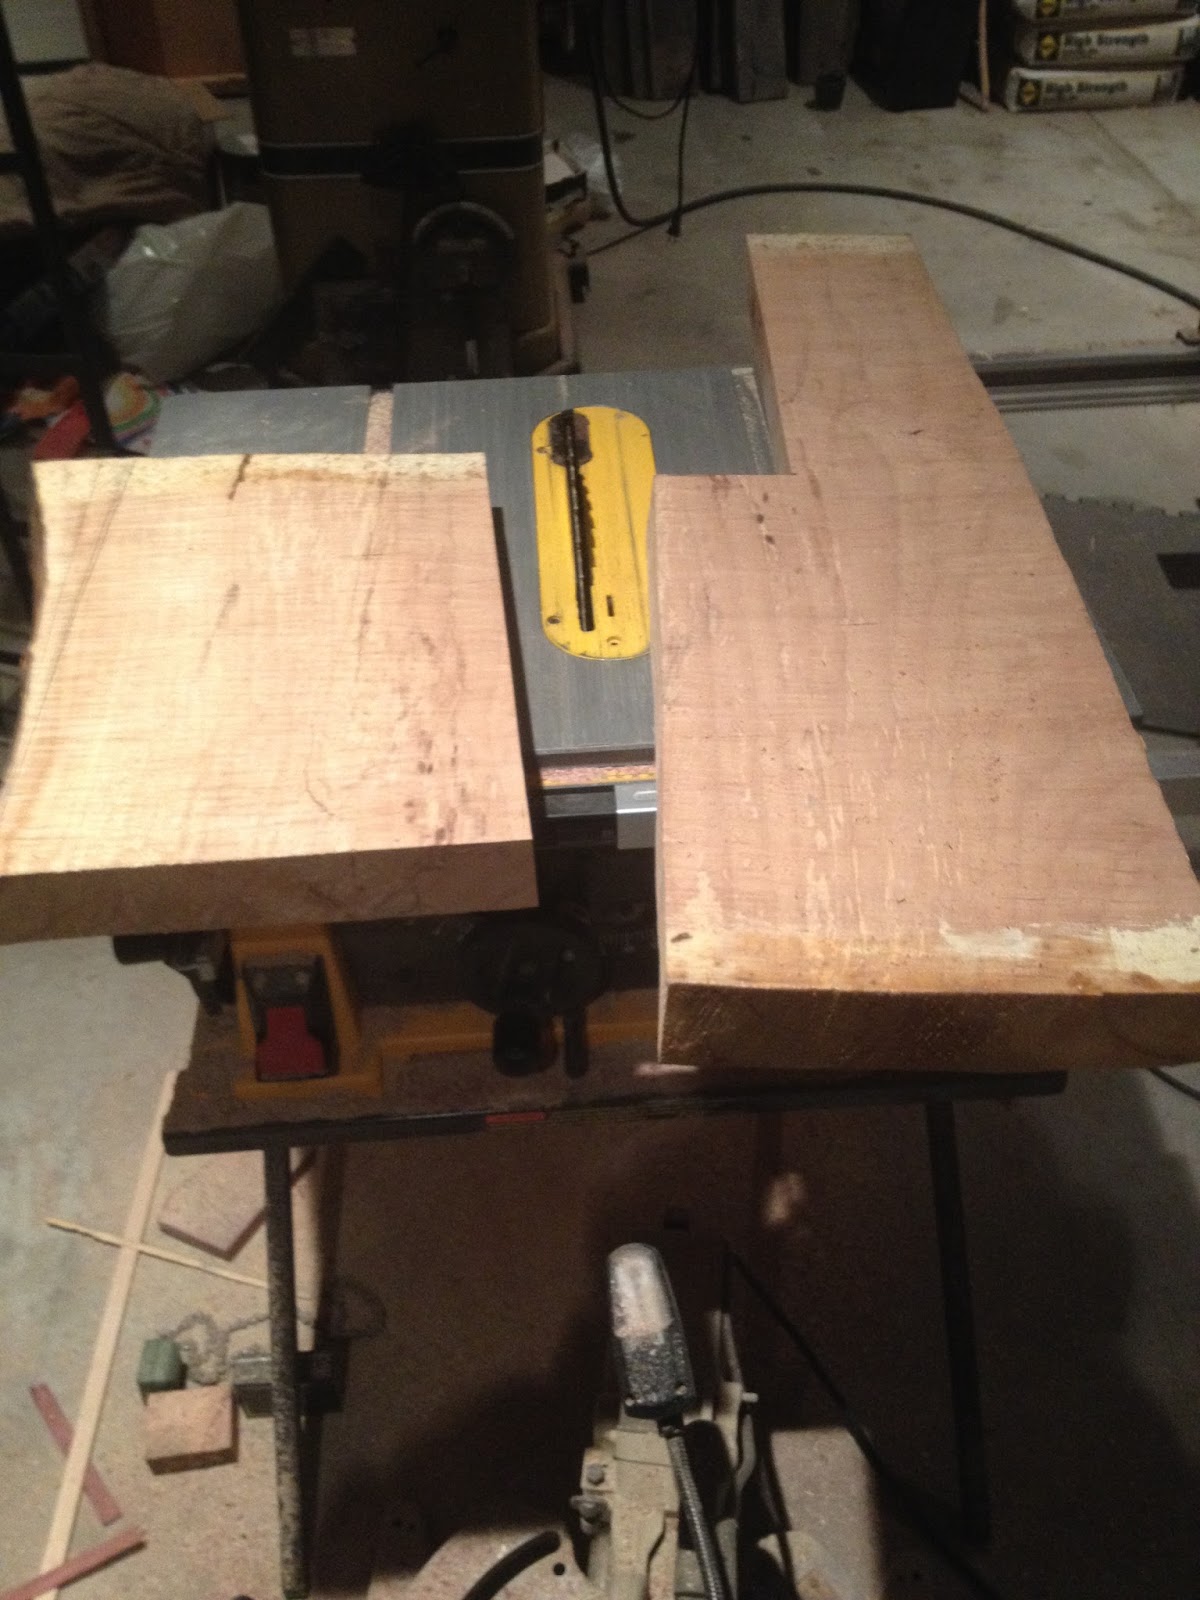
I cut a 14’
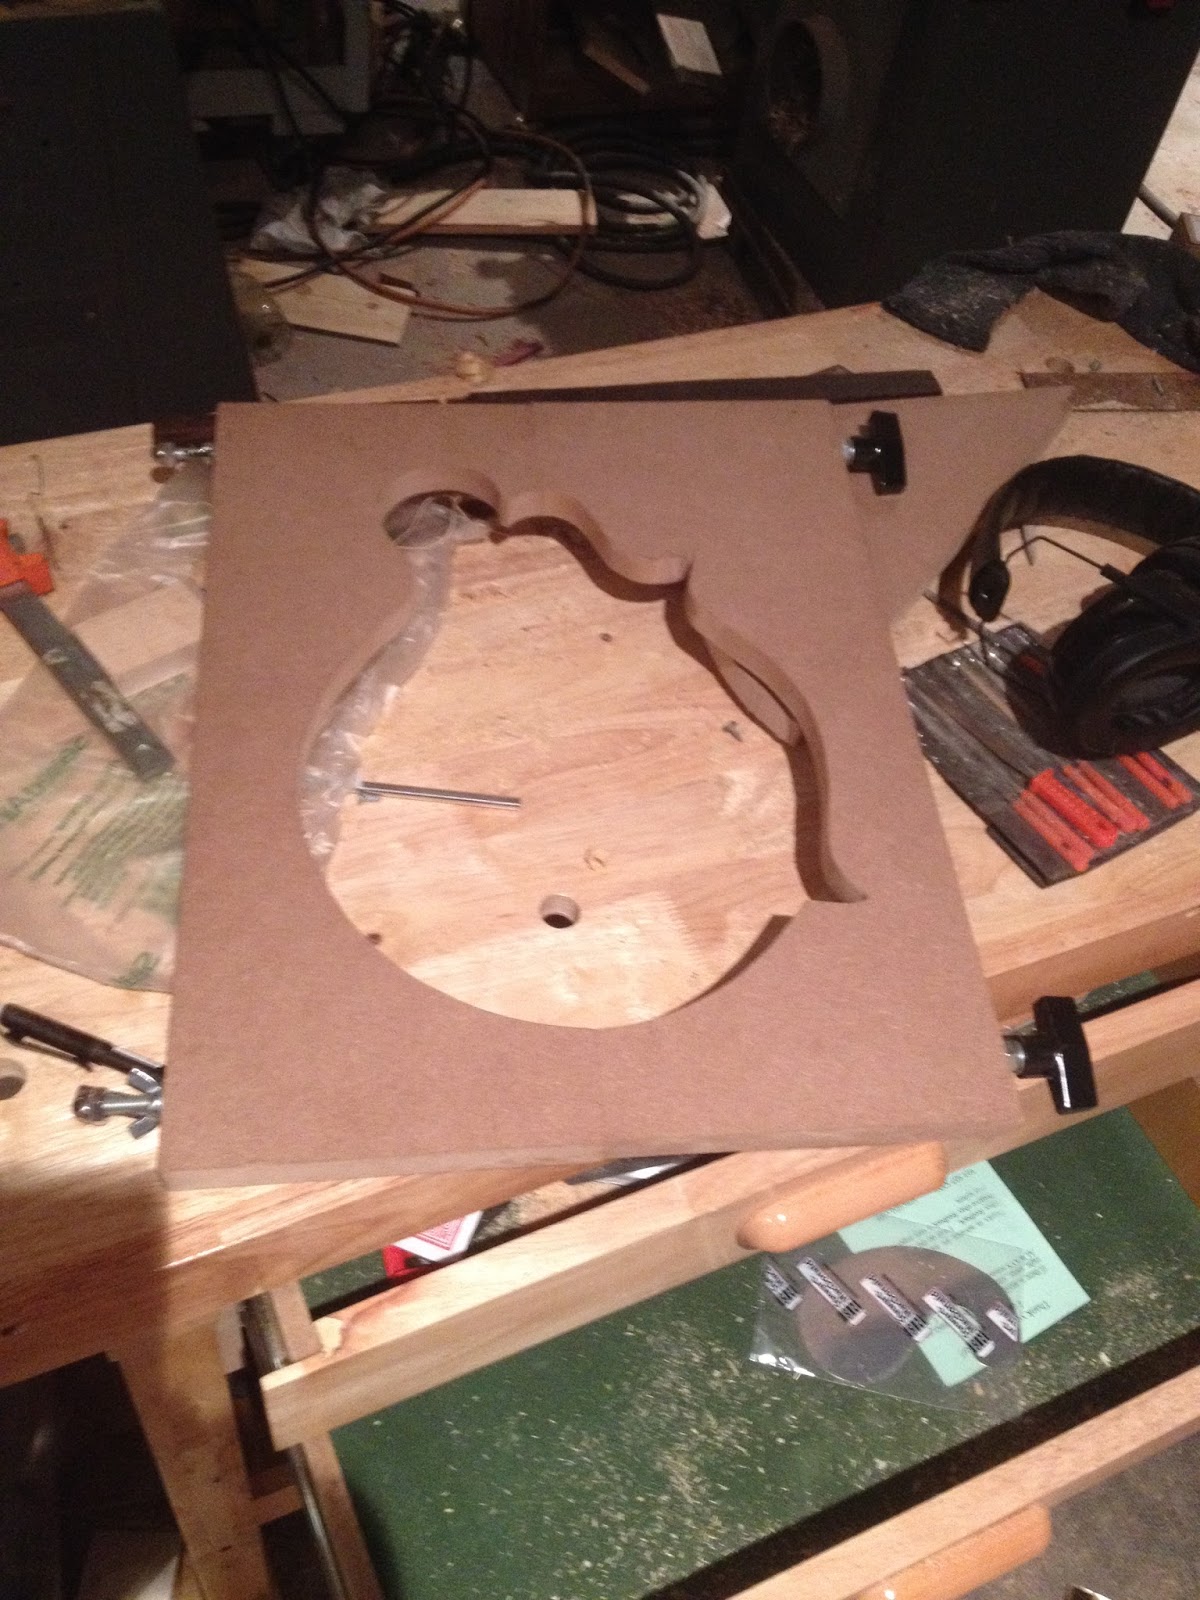
X 18” piece and ripped it in half. I then jointed the edges where they will joint in the middle. I them traced the outline of the mandolin.

I used the band-saw to cut the shape out on each half.

Once both halves were rough cut out on the band-saw I used my drill press as a sanding station to ease up to the line.

The points have to be hand filed where the sanding drums can't reach.

I
drilled four 5/16th holes by
clamping the pieces to my work bench and using a drill guide. The challenge is keeping the holes strait on
both pieces so the metal rods will go through both at a 90 degrees. I bought two 5/16 threaded rods and knobs to hold my form
together. This will make it easier to
remove the rim after gluing


I am only half way done. I need to build the inside spreader cauls next.
.


